Andrewgosu
The Silent Pandaren Helper
- Reaction score
- 716
Advanced skinning: Brushing
Introduction: This tutorial is going to show you how to work with brushes and intruments in order to create an absolutely new skin for a model.
I am going to use Adode Photoshop, but this all is do-able with almost every more advanced image editing program. (Including GIMP)
So shall we begin?
Open Image Extractor II or any other program, which allows you to export a Warcraft 3 skin from the mpq. I have chosen a Murloc to skin. The path for this specific Murloc is Units\Creeps\MurlocWarrior\Murlocwarrior.blp.
Start by making a new above the base image (Shift+ctrl+N) and naming it base.

Press D to set the foreground colour to black and background colour to white. Now, pick the bursh tool (


After done that, create another layer and rename it to scales. Pick a darker gray colour and make a scale-pattern round the backside and onto the legs of the murloc. If done that, pick a lighter version of gray and inline the made brushing with that colour. Lastly, take a very light version of gray and make some edges between the darker and lighter ones.
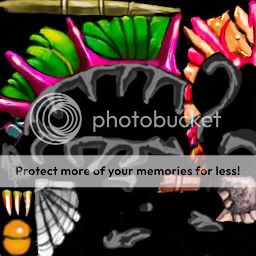
When finished with that, create another layer between the base and scales layer. (You can drag it there with your mouse)
Now, start creating a certain texture, using black and the shade tones of gray. Be creative. You can toggle on/off the base layer visibilty (


Now, create a new layer and call it skin. (Its up to you what you name them, if you do. The key thing is actually using alot of layer, so that if something goes wrong, the whole process isn’t lost). Press D to reset the colours. Pick a very small brush, sized, around 1.5 – 2.5 pixels. Start making a black scales. It should remind something like ring mail. Don’t make the scales too big. (The zoom tool (

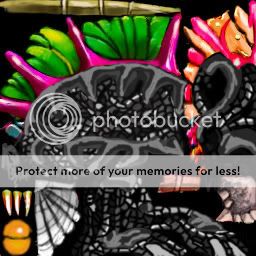
After that, create another layer, called upper skin. Drag it to the top, so the 3 other layers are below it. Pick a darking red tone of the forground and repeat the process above.
In total you should have 4 layers + the background layer. Make another one, below the upper skin but above the 3 other layers. Name it spikes. Finished that, start brushing some grayish spikes. I used red too, in addition to the gray tones.
The fact the original eye of the murloc is quite good, makes our life easier. Use the pen tool (

Now you should be able to desaturate the eye-claps and the harpoons the murloc holds on his back, because the brushing is one the other layer. Select them and desaturate. (Image>Adjust>Desaturate). Also, make them darker by -40 to -70. (Image>Adjust>Brightness/Contrast) .
After done that, and assured all is how you want, merge all the layer together. (But not the background, the original skin layer. Toggle the background visibility off, when merging)
Now, pick the burn tool (

Duplicate the same layer and use Filter>Other>High Pass on it. Set the radius to 250. Now, set the duplicated layers’ blending mode to soft light. That makes the skin more sharper, without using the sharpen tool.
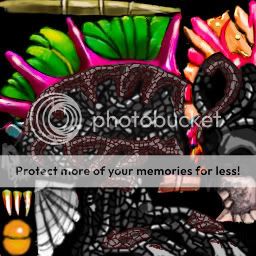
Meanwhile, I have covered the unbrushed parts of the head with shades of red and covered it with light scales. (Like we did with the body).
As one can see, I have also brushed the wooden axe and the seashell to a shield and a metaly axe. (Doesn’t matter it didn’t come out very good, you can make it look 100x better.)
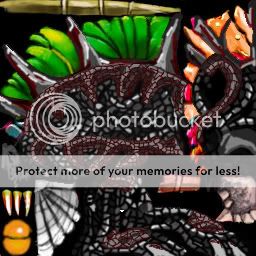
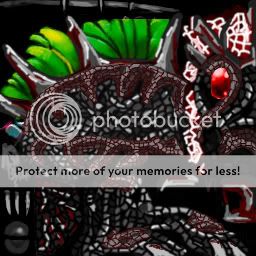
Now, if your skin looks almost the same as mine, all is done. But don’t run to save it yet! You have forgotten the alpha layer!
View the alpha layer. Channel>alpha layer. Pick white colour for your forground colour. This acts as an eraser in alpha layer. Delete the red alpha colour from the back part and from the legs. Now, press D to reset the colours. Black is used to alpha things out. Alpha out the green gimma-mam-bobs (Don’t know how to call them) between the spikes. After finished it, select a light gray colour for your foreground colour. As its between white and black, it doesn’t erase nor add alpha colour, but it lets the team colour in Warcraft to shine through, without getting those all-red-looking-and-squary-things. Now, having picked the gray colour, set the bursh size to very small again and brush some of the skin parts on the back of the murloc.
The alpha layer should look something like this, when finished.
Now, you have reached to point, when it’s finally ready. Save it in TGA mode, 32 BIT and covert it back to .blp.
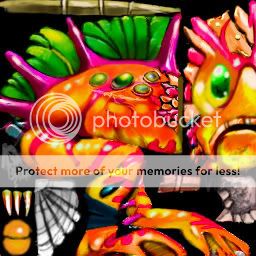
The original skin.
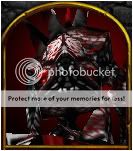
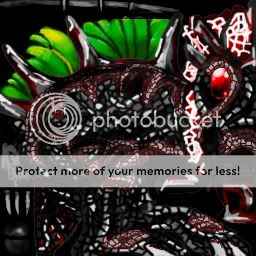
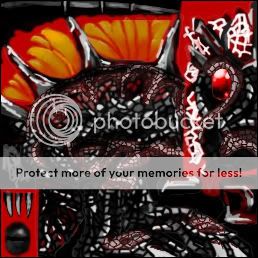
The new skin.
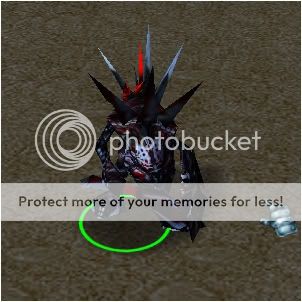
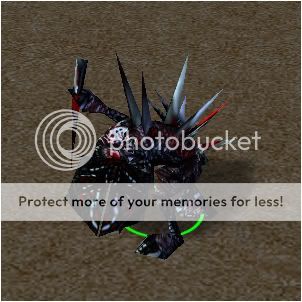
Ingame screenshots.