NullCurrent
( ゚ε ゚)
- Reaction score
- 110
How To: Edit Models
By Null-Current
Introduction:
What will we be doing?
We will edit Blizzard's models. NOTE:Without animation.
Are these programs free? And completely free, there isn't any trail version?
Yes, these programs are completely free!
What if I want to learn to animate?
You will have to purchase or roam the internet finding another program with this capability, and you will need to find a different tutorial.
Tools required:
- Magos War3 Model Editor
- Oinkerwinkle's Vertex Modifier
- BLP/TGA Converter
- IrfanView
- Warcraft III World Editor
- Notepad Usually comes with your computer
Vertex Modifier:
Selection:
- Select: When highlighted, any points you select will light up, and will be modified. But, if you select new points, these points will be unselected.
- Add: When highlighted, any points you select will light up, and will be modified. But, if you select new points, the new points and the old points will all be slected.
- Deselct: When highlighted, any points you select will be unselected. But not any of the other already selected points.
Transformations:
NOTE: When you want to translate certain vertexes, right-click, not left.
- Move: When highlighted, any points selected will translate.
- Rotate: When highlighted, any points selected will rotate around the center of mass.
- Scale: When highlighted, any points selected will shrink or grow around the center of mass.
- Extrude: When highlighted, any points selected will be cloned in the same position as the older ones, but translated to a new position. This is very useful.
Other Useful Things:
- X: When highlighted, any points will not be affected in the X axis, during a transformation.
- Y: When highlighted, any points will not be affected in the Y axis, during a transformation.
- Z: When highlighted, any points will not be affected in the Z axis, during a transformation.
War3 Model Editor:

File:
- New: Open a blank model. Not very useful.
- Open: Open an existing model. Extensions: .mdl or .mdx
- Save: Save the open model. Extentions: .mdl or .mdx
- Save as: Save a model under a certain file name.
- Close: Close the currently open model. If you did not save the model, it will prompt you.
- Import: Open a model from these extensions: .md2 and .ms3d.
- Exit: Close the entire program.
Recent Files:
- Clear: Clears the recent files list.
Edit:
- Register Extensions: Register extensions so you can double click and quickly open files.
- Calculate Extents: Calculates how much space (X,Y,Z) the model will use. You will probably never use this.
- Properties: Edits the way the War3 Model Editor looks. Not very useful.
- Model Properties: Here you can see the extent of you model and rename it.
- Model Info: Here you can see statistics of your model.
View:
- Resize Window...: You can return the window size to default.
- Reset Camera: Set the camera to default.
Team Color:
- Set the color that the current model will use as its team color.
Windows:
- Model Editor: Here you can edit the mesh of the model. I will go through this in depth later.
- Animation Controller: Control what animation the current model is doing.
- Node Manager: This is very useful and can do many things, from particle emitters to creating omnilight. I will go through this in depth later.
- Camera Manager: Creates camera angles for portraits.
- Geoset Manager: Manage specific parts of a mesh, called geosets.
- Geoset Animation Manager: Same as the geoset manager, but causes the model to change color or animate.
- Texture Manager: Use, delete, or import textures from here.
- Texture Animation Manager: Allows you to animate a texture. Like water.
- Material Manager: Choose where you want to use textures along with team color.
- Sequence Manager: Manage the animations.
- MPQ Browser: A very important tool, allows you to browse through the MPQ file of warcraft. I will go through this in depth later.
Extras:
- Loading Screen Creator: Assists in creating loading screens.
- Colored Text: Creates the code for gradient and solid text colors.
Re-texturing a Model:
Acquire Resources:
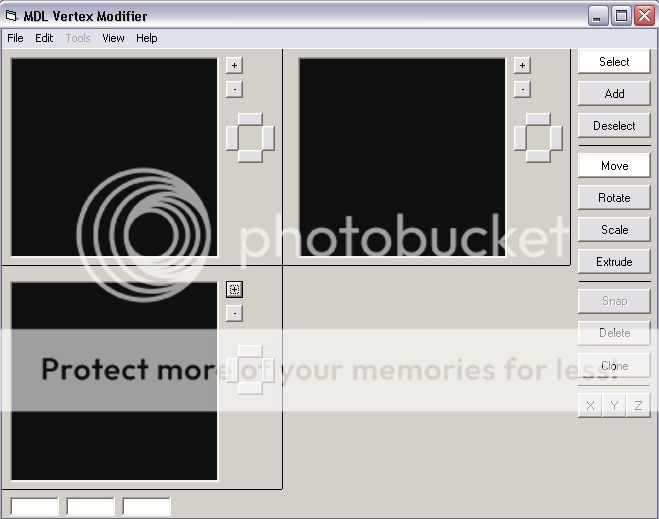
- Go to windows and open the MPQ Browser. At the bottom of the list.
- A window should pop up, looking like this:
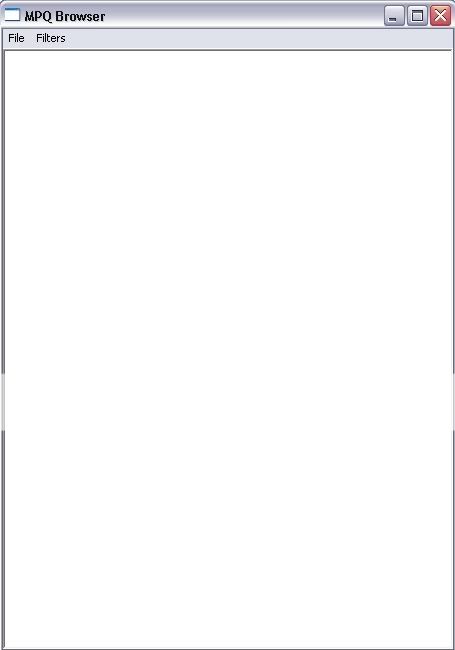
- Go to file and select either: War3.mpq or War3x.mpq. These will be the range of models/scripts/etc. you will browse. War3x.mpq is for the expansion.
- For this tutorial, I will be using War3x.mpq and using the model "Unit\Creep\Zombie\Zombie.mdx".
- Double click the model you want to use and look at the War3 Model Editor screen.
- Save the model as a .mdl file. Type: "Whateveryouwanthere.mdl" or select file type as .mdl.
- Next, open the MPQ Browser again and find the texture you want to use. Mine will be "Unit\Undead\Ghoul\Ghoul.blp".
- Don't open your file! Right-click the file and select "export". Save your file as whatever you want and where ever.
- Because the Vertex Modifier can't open .blp's, you will have to convert the file into .jpg.
- Copy and paste the BLP/TGA converter into the folder where your .blp file is.
- Click on your .blp file and drag it on top of the file convert program. Like this:
- Now that you have the .blp in .tga format, open the file in IrfanView.
- In IrfanView, save the .tga file as a .jpg file.
Re-texturing the Model:
- Open the Vertex Modifier and open your model file. Mine is the zombie
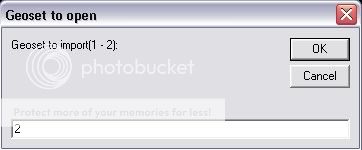
- It may ask which geoset. A geoset is a certain part of the model mesh, the part you want to retexture can be any of the geosets, you will have to find this on your own. My geoset I want is in the 1st geoset.
- Once you find the geoset you want to work in, go to tools and UV mapping. It should look something like this:
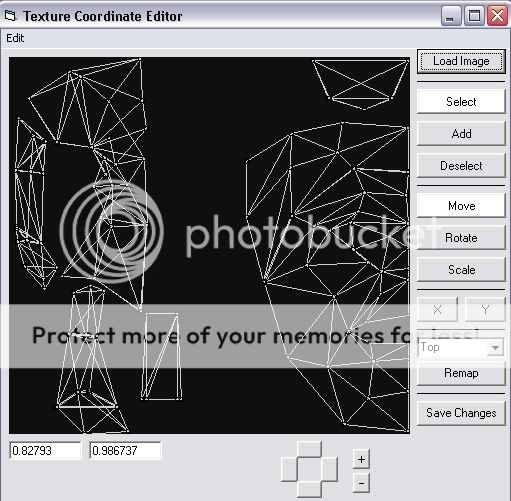
- Once the UV mapping window pops up, click on "Load Image" at the top right.
- Load your .jpg file of the texture you want to use. It should then look something like this:
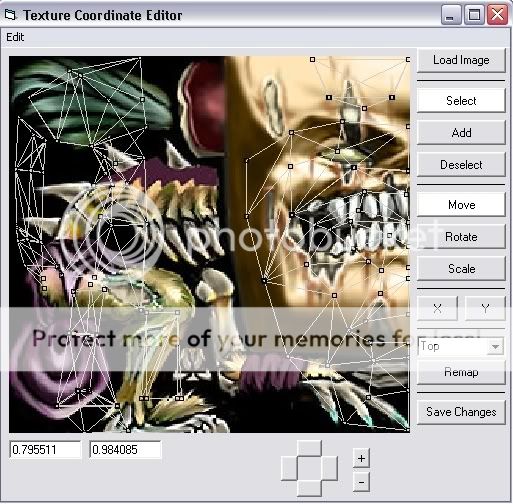
- Now, all you need to do is move around the vertexs (the squares) and put the faces (triangles that make up the mesh) onto the parts of the texture that you want to show. Mine looks like this:
TIPS: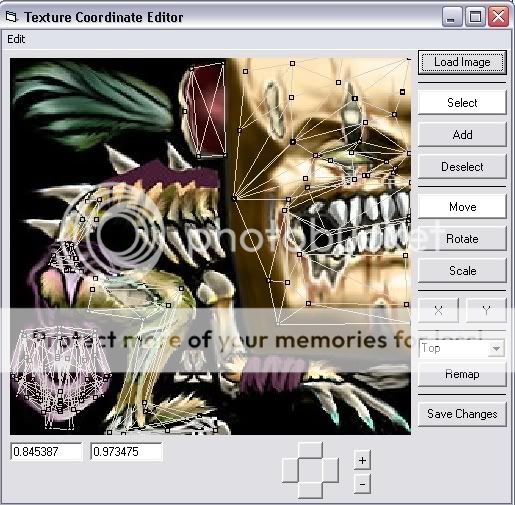
- Select certain vertexes and use the drop-down menu that says "Top", "Front", and "Left" and click the "Remap" button. This will make the selected vertexes look like if you were looking at the model from those views.
- Select vertexes outside of the UV mapper and they will be selected in the UV mapper when you go to it.
- When you are satisfied, click "Save Changes".
- Save your model and exit the Vertex Modifier.
- Open the War3 Model Editor and open your model. If your model looks like crap, don't worry. We haven't told the model to even use the texture.
- Go to the MPQ browser and look for the texture that you used. Right-click this texture and select "Use as texture".
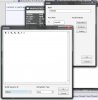
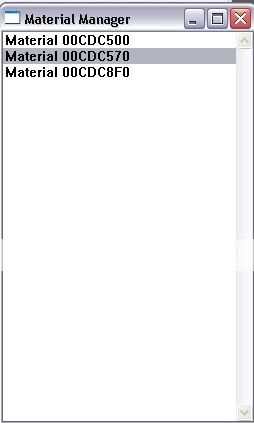
- Go back and go to "Windows" and select "Material Manager". It should look like this:
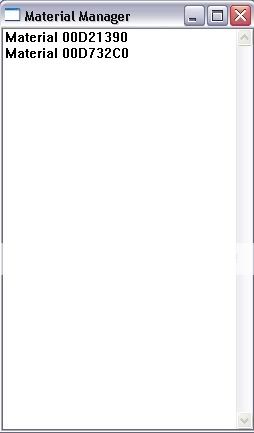
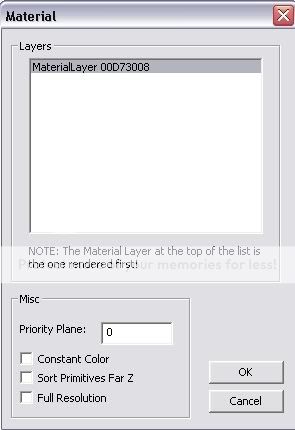
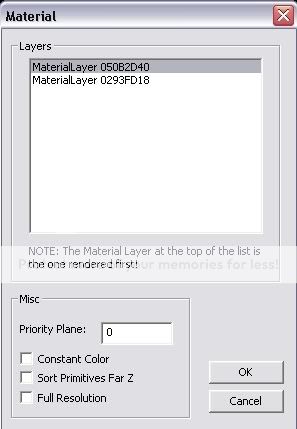
- Double-click on one of the materials, and when a new window pops up, double click the material layer in this window. It looks like this:
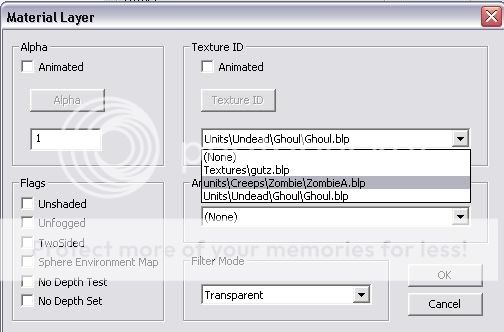
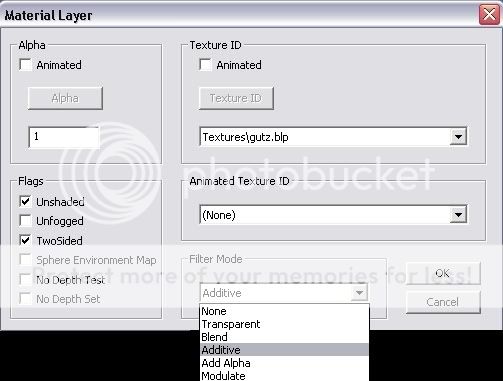
- In the next window you should see the texture that that material uses. If the texture is the one you re-textured, go into the drop-down menu and find your new texture. Mine looked like this:
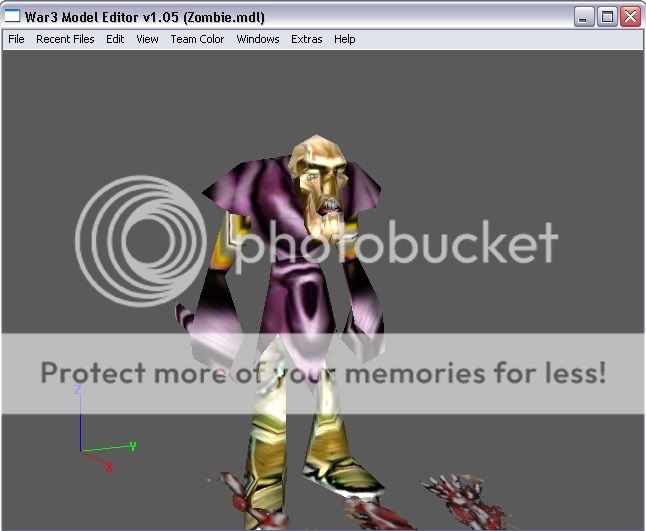
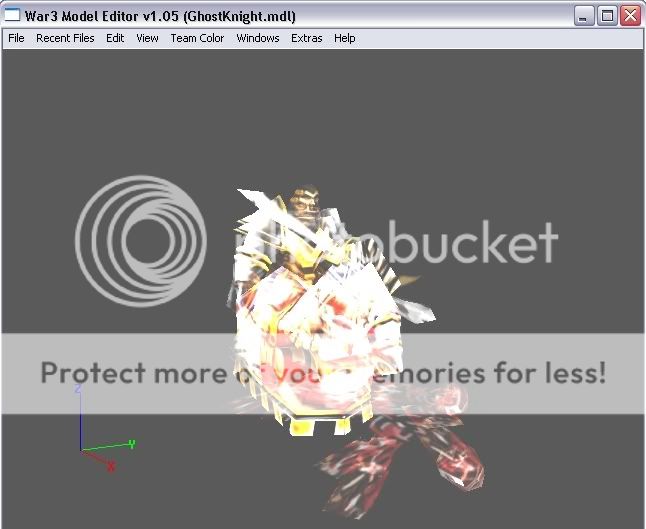
- Now press ok and get back to the main screen. Your model should look beautiful! Mine look like this:
Added January 15, 2009
Editing the Mesh of a Model:
Editing the mesh of the model is easy, while re-texturing is not so easy.
- Open the War3 Model Editor and go to the MPQ browser, or open the file you want to edit.
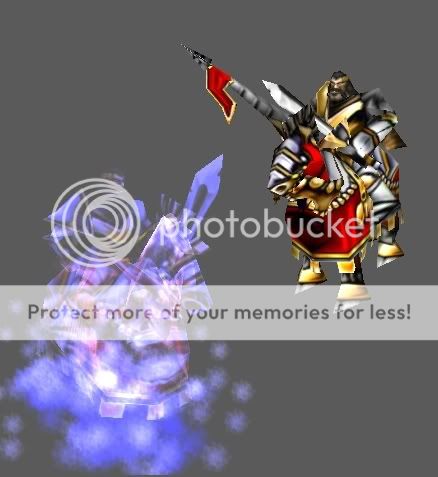
- For this tutorial, I will be using "war3.mpq" and "Unit/Human/Knight/Knight.mdx"
- Now, with your model successfully loaded, save it as a .mdl.
- Open the .mdl file in Vertex Modifier.
- All I am doing is deleting the legs of the model. Here is where I selected and deleted:
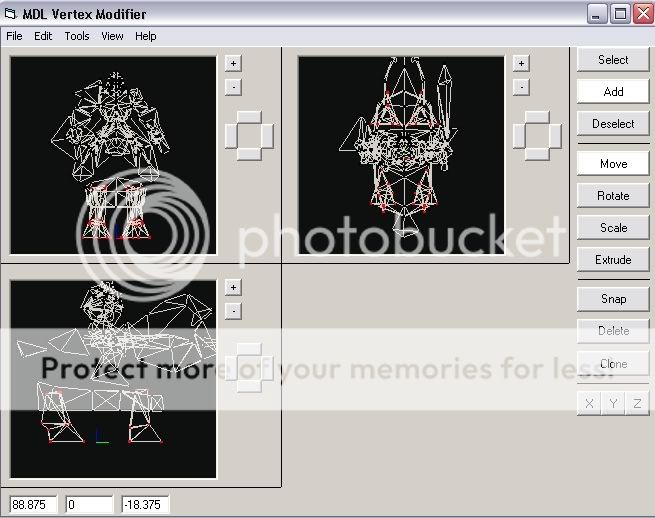
- I had to delete the legs in two of the geosets, so check all the geosets! I also deleted the joust.
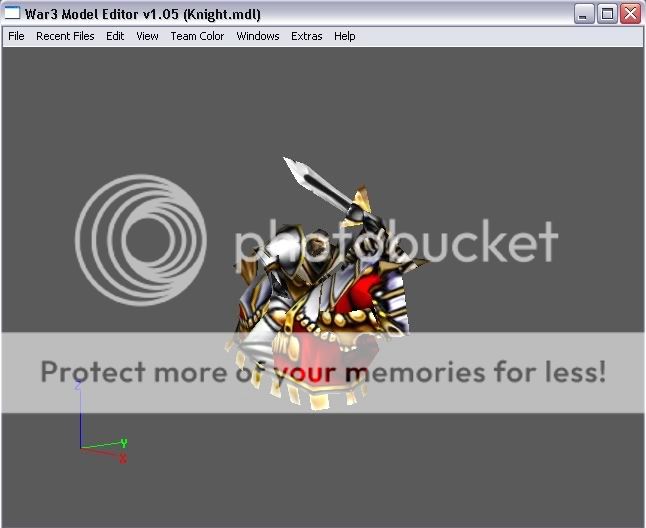
- This is where you can edit the mesh all you want. Make things bigger, delete things, shorten things, do anything you want!
- Now, my model looks like this:
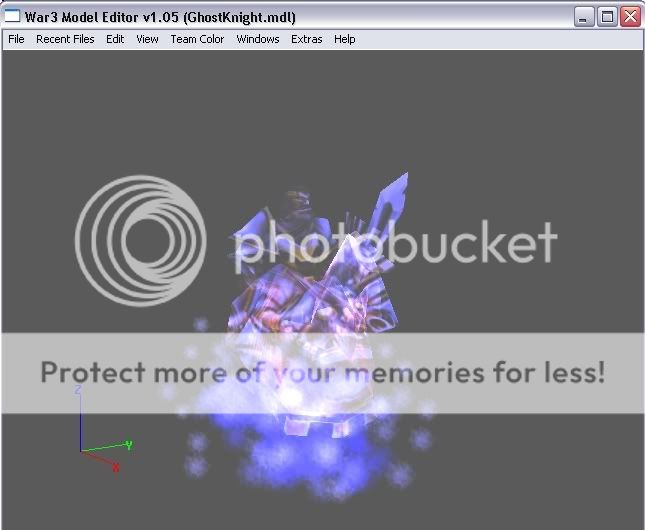
- With this model, I am going to make it "Ghosty". So, I am going to add a particle emitter.
- Go to the Node manager and right click in the window and select "Create Particle Emitter 2".
- Now, right-click the particle emitter and rename it (if you want) and type in the coordinates of where you want the emitter to be. Mine is at 0, 0, 20.
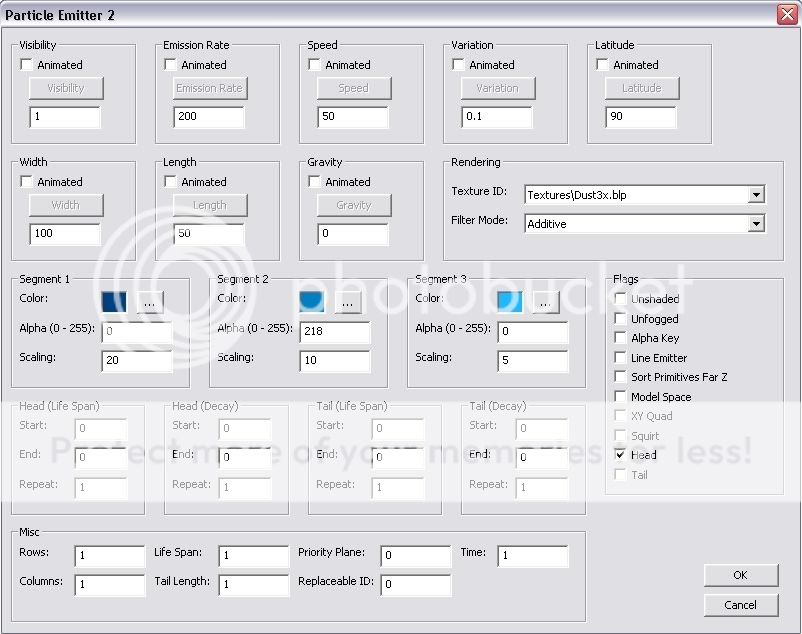
- Now double-click the emitter and edit the variables to your liking.
Particle Emitter Options- Visibility: Visinility can be animated with 4 types of interpolations: DontInterp(Default for On/Off visibility), Linear, Bezier and Hermite. Using a Global sequence on a linear/bezier/hermite animation frame of visibility ranging from 0 to 1 to 0, produces fading In-Out particles, which is quite nice to tingle effects.
- Emission Rate: How many particles are released per second.
- Speed: How many units per second the particles move
- Variation: This varies the speed you have set. So if you set the speed to 30 and the variation to 20, each particle will travel at a speed between 10 and 50.
- Latitude: The range goes from 0 to 180 degrees, the size of the degree will increase the degree of spread.
- Width: Width of the emitter plane where particles are created randomly from its surface area.
- Length: Length of the emitter plane where particles are created randomly from its surface area.
Note: Magos mixed width and length. - Gravity: This is how much gravity will play a part in your emitter. Setting this to a positive number will make the particles go down, while a negative number will make it go up.
- Texture ID: This specifies the texture that is used as the particles.
- Filter Mode: This changes the art of the texture, as much as I could figure out. This is almost always set to "Additive".
- Segment 1: This is not seen. Unless "Time" is set to a different variable.
- Segment 2: This is seen first (or second). This color mixes with segment 1 (If time is set correctly)
- Segment 3: This is seen last, this color mixes with segment 2.
- Alpha (0 - 255): This is how much of this emitter is visible. 0 = Invisible while 255 = completely visible.
- Scale: This is the size of the particle.
- Lifespan Head UV Anim: Starting and ending cell number for animating texture sequence of the first half of the Head particle’s life. Repeat will cause this animating texture to cycle.
- Decay Head UV Anim: Starting and ending cell number for animating texture sequence of the second half of the Head particle’s life. Repeat will cause this animating texture to cycle.
- Lifespan Tail UV Anim: Starting and ending cell number for animating texture sequence of the first half of the Tail particle’s life. Repeat will cause this animating texture to cycle.
- Decay Tail UV Anim: Starting and ending cell number for animating texture sequence of the second half of the Tail particle’s life. Repeat will cause this animating texture to cycle.
- Rows and Columns: Rows and Columms cut the image being emulated by rows and columms. This is made for animated texture particles. An example of how to use it is in the texture: "Textures\Clouds8x8.blp" you must set the rows to 8 and columms to 8, this will produce adecuate particles and can be animated.
- Life Span: Starting and ending cell number for animating texture sequence of the first half of the Head particle’s life. Repeat will cause this animating texture to cycle.
- Tail Length: I did not notice any changes when editing this variable.
- Time: This is the amount of time each segment is to be seen. This allows segment one to be seen, if you set it to one.
- Flags:
- Unshaded: The particles do not use lighting and are always full bright.
- Unfogged: Particles ignore distance fog.
- Alpha Key: I do not notice any changes. Do not check
- Line Emitter: Whether or not particles move in three directions, or two.
- Sort Primitives Far Z: Keeps particles "in order". Keep this checked
- Model Space: Whether or not particles move with the emitter.
- XY Quad: Causes the particles to be a type of tail that orients to the XY grid.
- Squirt: I do not notice any changes.
- Head: The particle is a billboarded square quad.
- Tail: A tail particle is billboarded along the axis of motion and stretches in length based on speed.
- Visibility: Visinility can be animated with 4 types of interpolations: DontInterp(Default for On/Off visibility), Linear, Bezier and Hermite. Using a Global sequence on a linear/bezier/hermite animation frame of visibility ranging from 0 to 1 to 0, produces fading In-Out particles, which is quite nice to tingle effects.
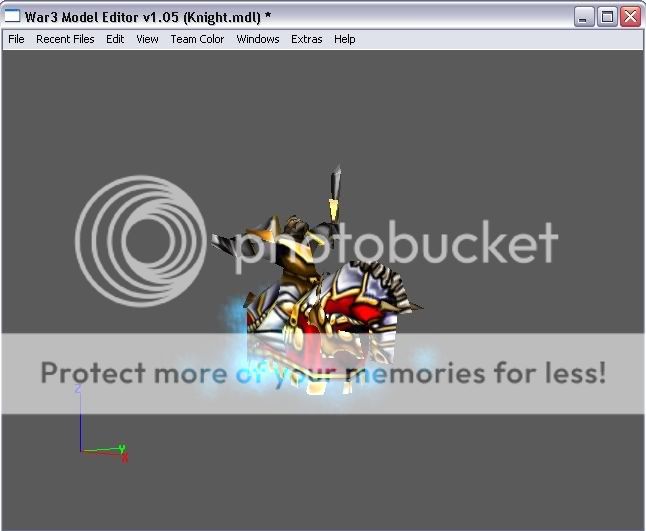
- My Particle Emitter Node looks like this:
- My model now looks like this:
Making the Model "Ghostly"
- Now that we have the particle emitter, the solid model looks weird, lets make it transparent.
- Go to "Windows" and select Material Manager.
- Double-click one of the Materials. Looks like this:
- Double-click the material in the next window, as such:
- In this window change the "Filter Mode" to Additive. Like this:
- Go through each material and change them all to additive. Then your model should look something like this:
- Next, I will tint the model blue so it looks ghostly.
- Go to windows and Geoset Animation manager.
- Open every single one and change the color to whatever color you want and check the "Use Color" box.
- With each one colored, check out the model by using the Animation Controller in "Windows".
- The model should now look like this:
Added May 8, 2009
Making a "Custom" Model:
Acquire resources- This part is easy, you shouldn't need to make any custom things.
- First, open your War3 Model Editor and go to the MPQ Browser, and select "war3.mpq" or "war3x.mpq" and select a unit.
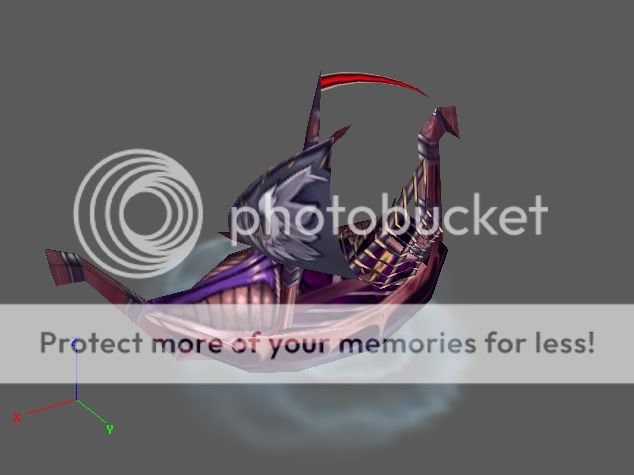
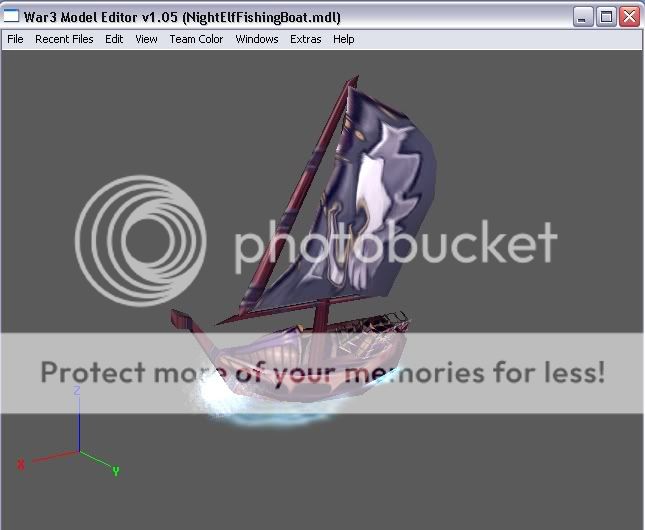
- In this tutorial I am going to be using the unit "NightElfFishingBoat.mdx"
Here is a picture of the un-edited version:
- Next, after you open that unit, save it as an .mdl so you can use the vertex modifier with it.
- Now, if you want to use some different textures, now is a good time. Get the texture like I said in the steps above.
Edit the Mesh- Open your Vertex Modifier and open your .mdl unit. Go to geoset one.
Mine looks like this:
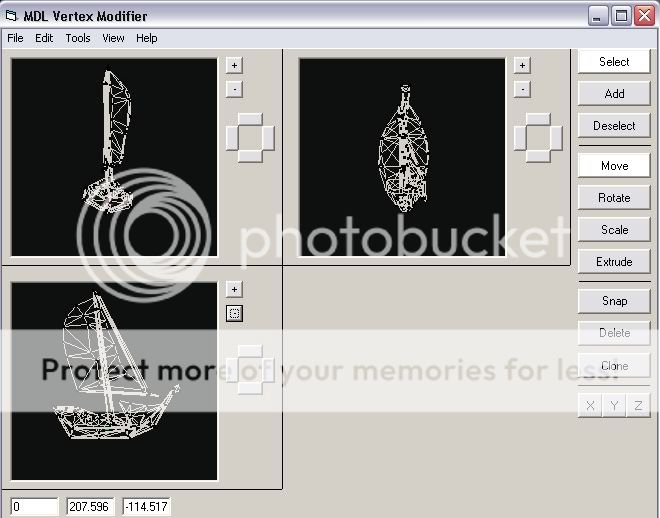
- Next, you can edit all you want! check at the "Getting to know the Vertex Modifier" to know how to edit. I am going to make mine look more like a human ship.
- I am going to turn my entire mast 90 degrees.
It looks like this:
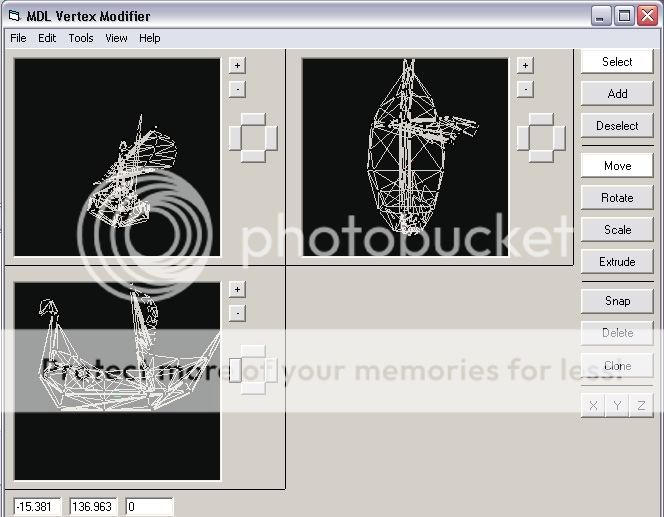
- Next, I am going to make my mast much taller, I also made the back end of the boat flat (no decoration).
It looks like this:
- Next, I am going to completely remove the little flag on top of the mast. Go to file and click on "Open Geoset". Select geoset number 2.
It looks like this:
- Once that geoset is open, do all your editing, I shrunk and deleted most of the vertexes.
Note: Do not delete the entire geoset, leave at least one polygon (triangle)! Or else your model will crash the game! - The rest of the vertexes I shrank and put into the hull of the ship so you can not see it.
- Now you can import it back into the War3 Model Editor.
Mine looks like this:
That is the end of this part!
This tutorial is presented to The Hive and TheHelper.
More will be coming soon!
Did you like this or learn anything from this: tell me!
Please take a look at my other tutorials:
Voting with Dialog Boxes, Model Weapon Attachments with Particle Emitters, and Modeling Day and Night Models with Omnilight!
More will be coming soon!
Did you like this or learn anything from this: tell me!
Please take a look at my other tutorials:
Voting with Dialog Boxes, Model Weapon Attachments with Particle Emitters, and Modeling Day and Night Models with Omnilight!