Daskunk
SC2 Forum MVP - TheSkunk #386
- Reaction score
- 186
Icons:


 ~ NEW!


Reason for not submiting: Mostly simple smudge and colors. Most of them don't resemble anything. They still look kinda cool though.
Skins and models:
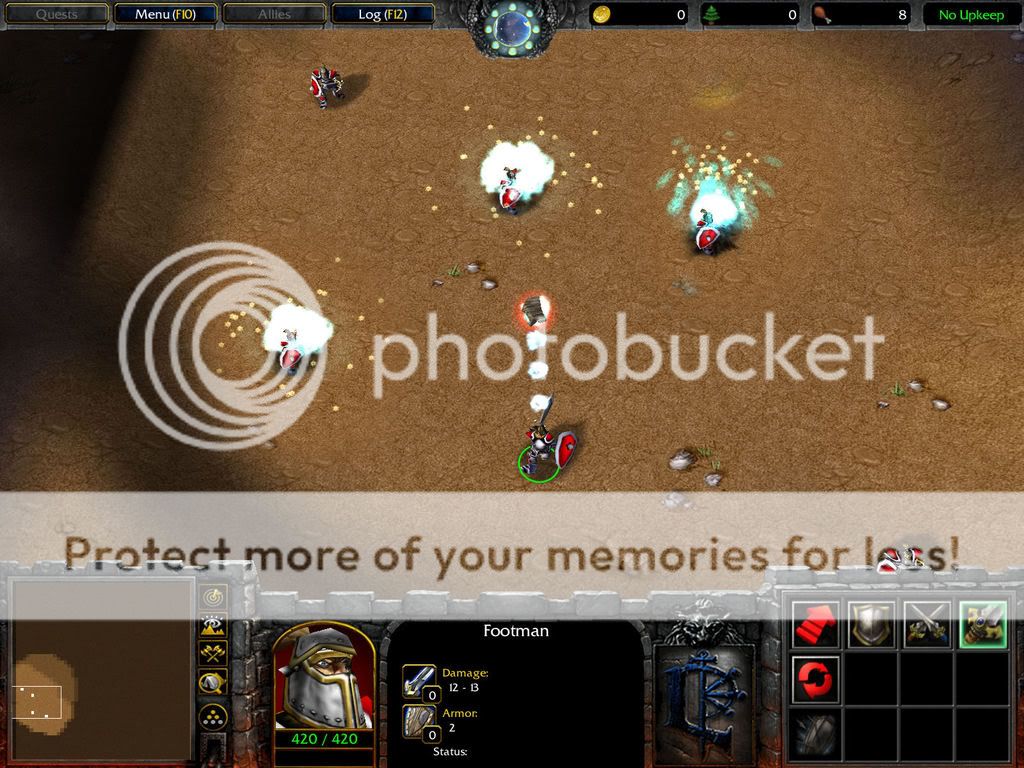
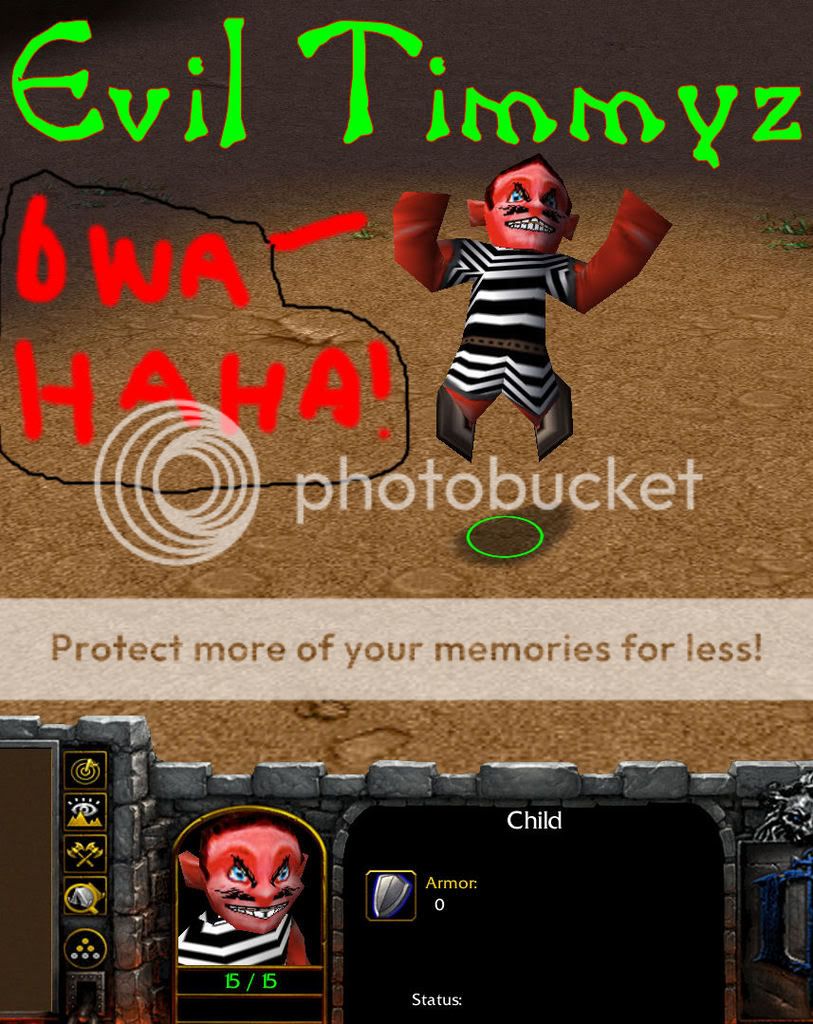
Model: Rep! NEW!
 Reason for not submitting:Ho Ho ho. Useless, but amusing model.
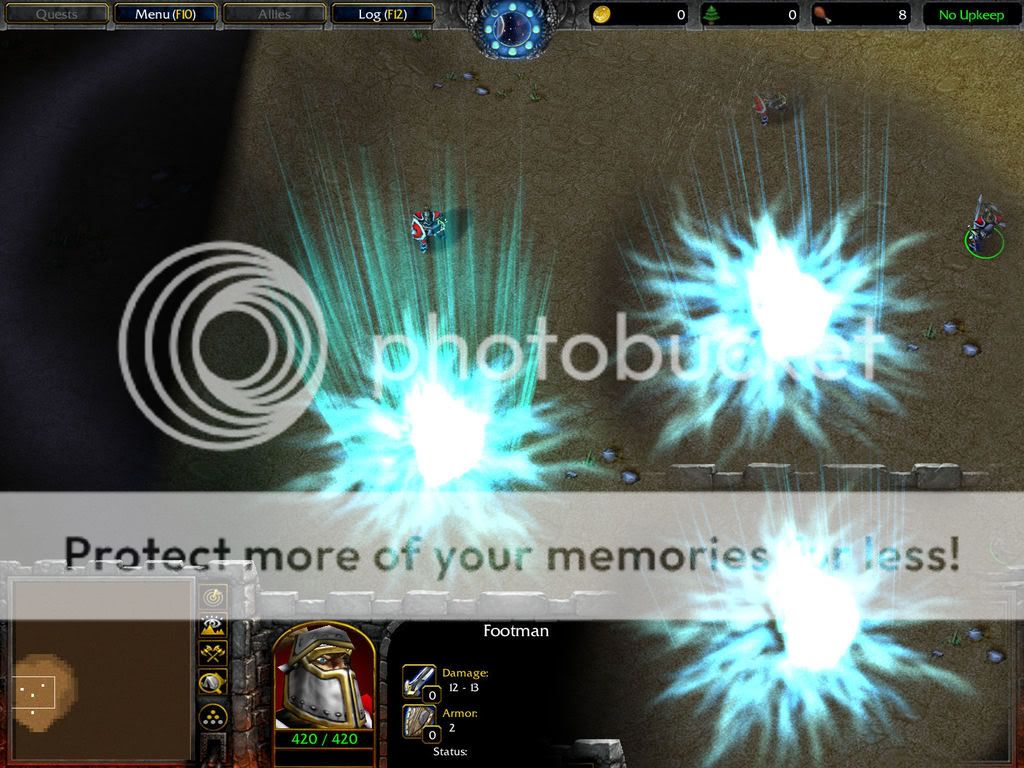
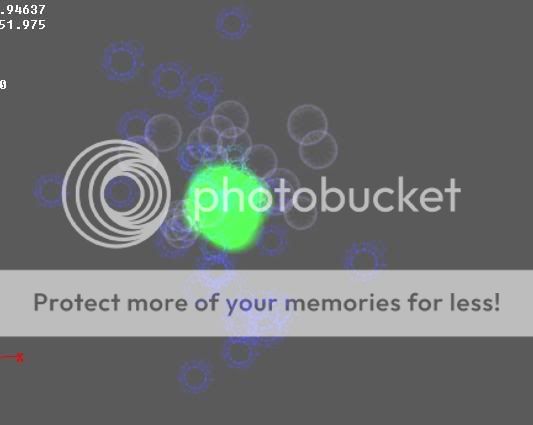
Model: NEW!
 Discription: FLYING ABOMINATON!!!
Reason for not submitting: Anybody can do it in one min with animation transeferr tool, but its still funny!
Skin:
 Reason for not submitting: Made following the skinning tutorial I was making. I was planning on someday finishing a tutorial. It's so simular to the old one, I didn't think it was worth it. If you want to see the tutorial, tell me. I didn't think it was that great though. All freehand, no recolor.
Model:
 Reason for not Submitting: It came out not at ALL like what I was trying to make... If someone wants it anyways I might submit it.
Model:
 Reason for not Submitting: It's death animation didn’t work..
Skin:
 Reason for not Submitting: EDIT: Subbmitted.
Model and skin pack:
Consists of: Ice phoenix (skin), Ice phoenix (Model), Ice Phoenix Bullet (based off of chimaera Bullet, Looks better ingame.) and Ice Explosion (Based off of firelords incinerate. Looks better ingame.)
 Reason for not Submitting: I was going to make a whole hero back, with more models and abilities to go with it. I never finished the pack, maybe I should just submitt these anyways.
Model:
 Reason for not Submitting: Nothing great. Just a falling bolder. As all of them, if you really want it, just tell me.
Model:
 Reason for not Submitting: The red and blue were suppose to be more clear, not just the green... I was dissapointed with it.
Model and skin pack:
Consists of: Poison Lord & Disease Spawn (skin), Poison Lord & Disease Spawn (Model), Disease Bullet (based off of phoenix bullet.) and Breath of Infection (Based off of Breath Of Fire.)
 Reason for not Submitting: I was going to make a whole hero back, with more models and abilities to go with it. I never finished it. Also, I was making a tornado model all green with the normal disease cloud on it, and it got busted.. Discuraged me..
Skin:
 Reason for not Submitting: Lol. Nobody would wanna use this. Don’t kid yourself.
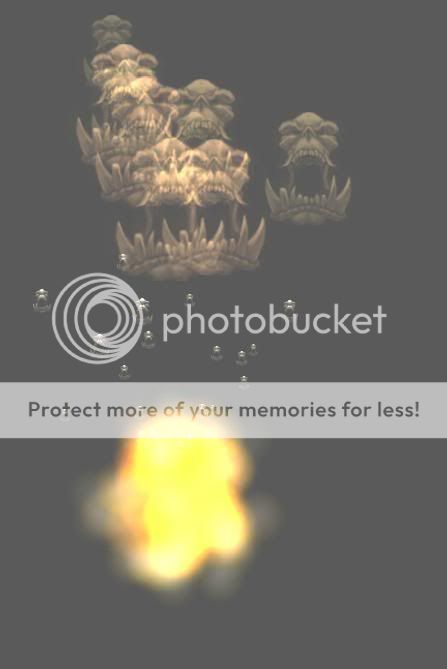
Model:
 Reason for not Submitting: I don't even know what it is, just random, and doesn’t look very good.
Model:

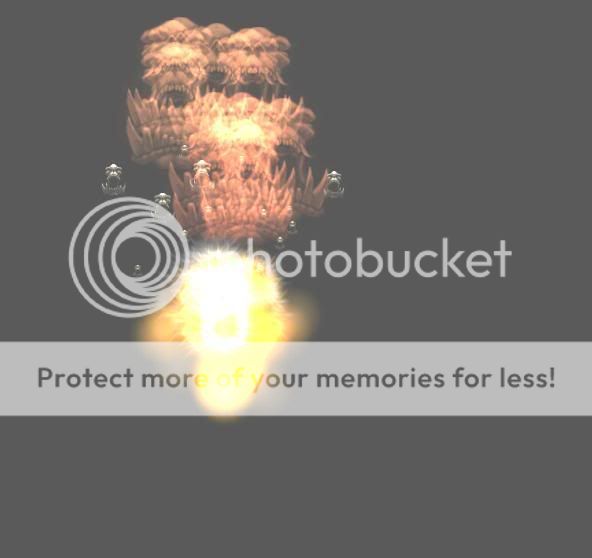 Reason for not submitting: Beats me, Maybe I should.. But its kinda random, I have no idea what it's suppose to be.
Model:
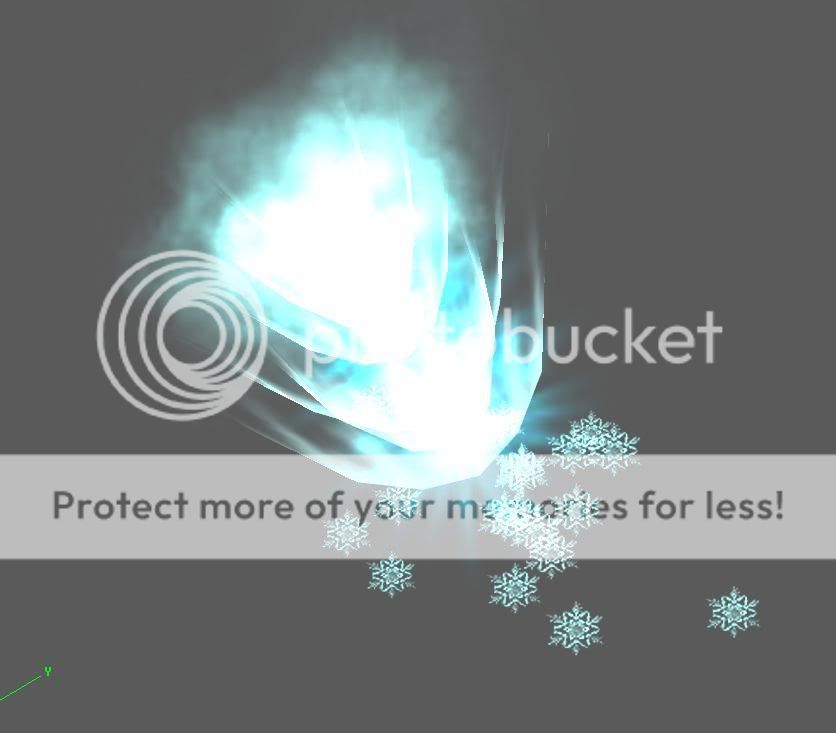
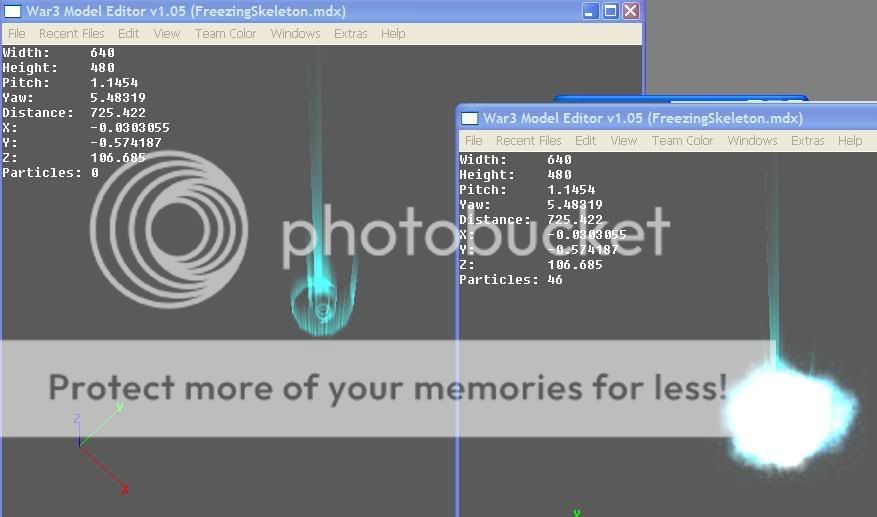 Reason for not Submitting: Snowy shockwave...And something else... I was gonna be another hero pack. Will update later showing the rest of the pack. The second one looks much different in game, btw.
Model:
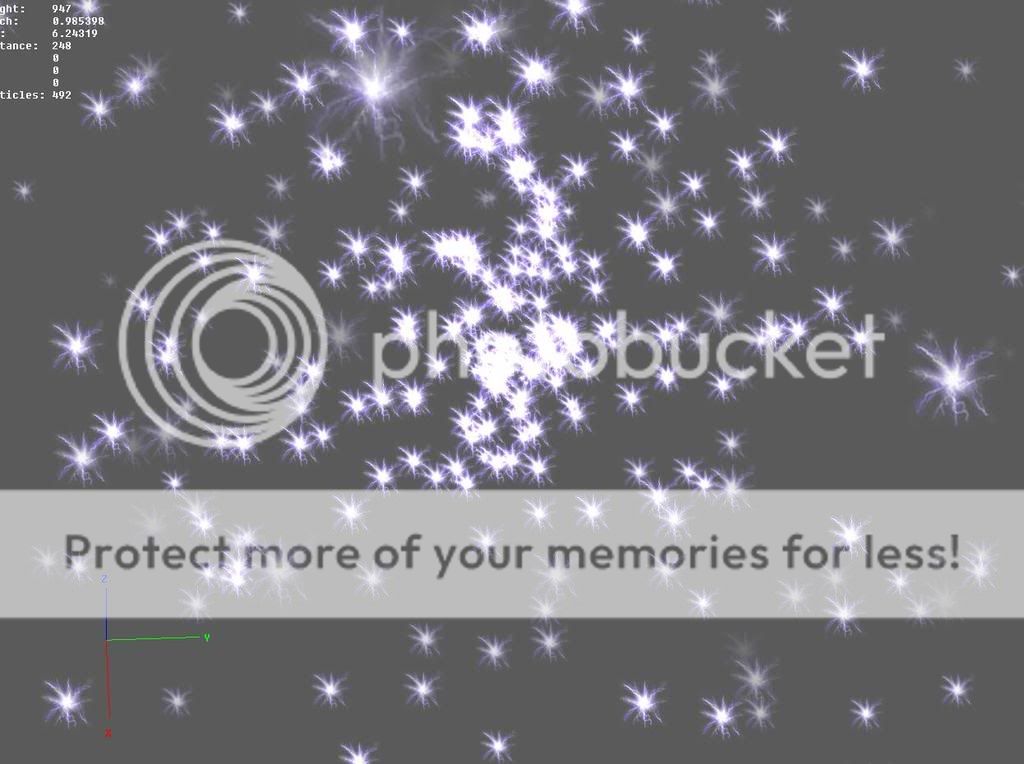 Reason for not submitting: Just a bunch of stars, Ive made many models like this. There's no real use for it.
Model:
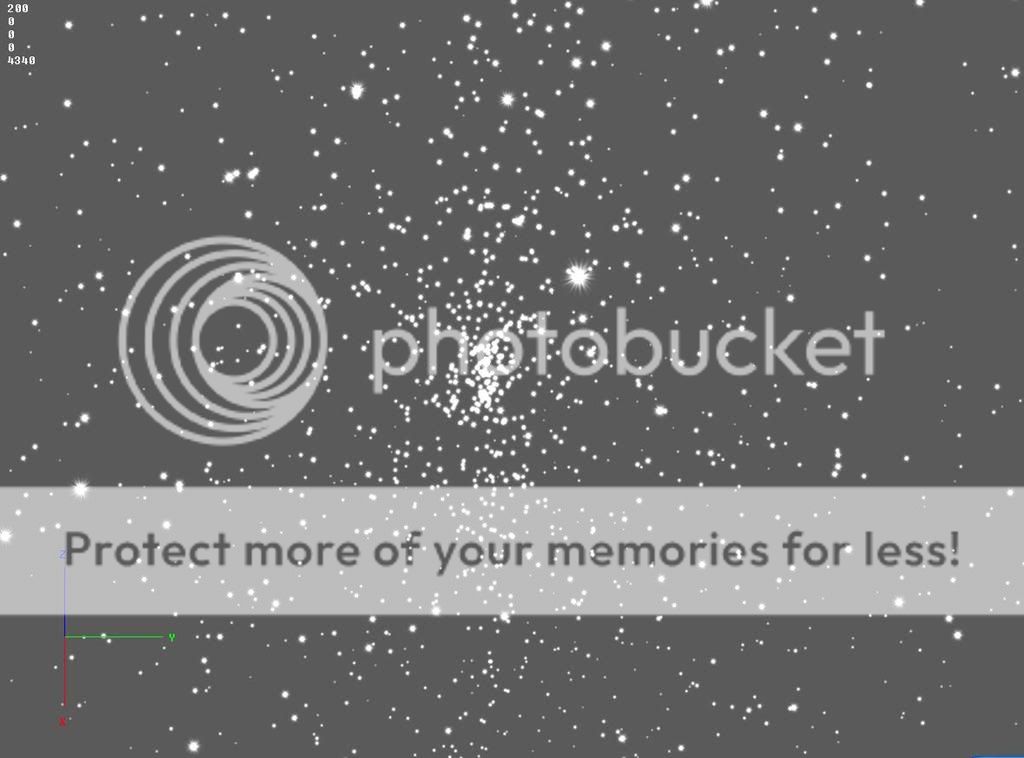
 Reason for not Submitting: Same as above. This one, the stars are MUCH smaller, and MUCH more of them, tons... Cool looking at it in model editor, zooming through a tons of stars.. Ive made more modesl like that, But they all serve no purpose ingame or anything.
Tutorial:
I really need feedback on the tutorial. I allready know how to skin myself, so I can't judge it, But I think it came out bad. Its aimed at people with no skills in skinning..
Here it is, not at all finished:
Requires:
- Wc3 Viewer. If you don’t have it, Go Download it.
- Any image editing program. I use Corel Paint Shop pro 9. If you don't have an image editing program, Try downloading Gimp.
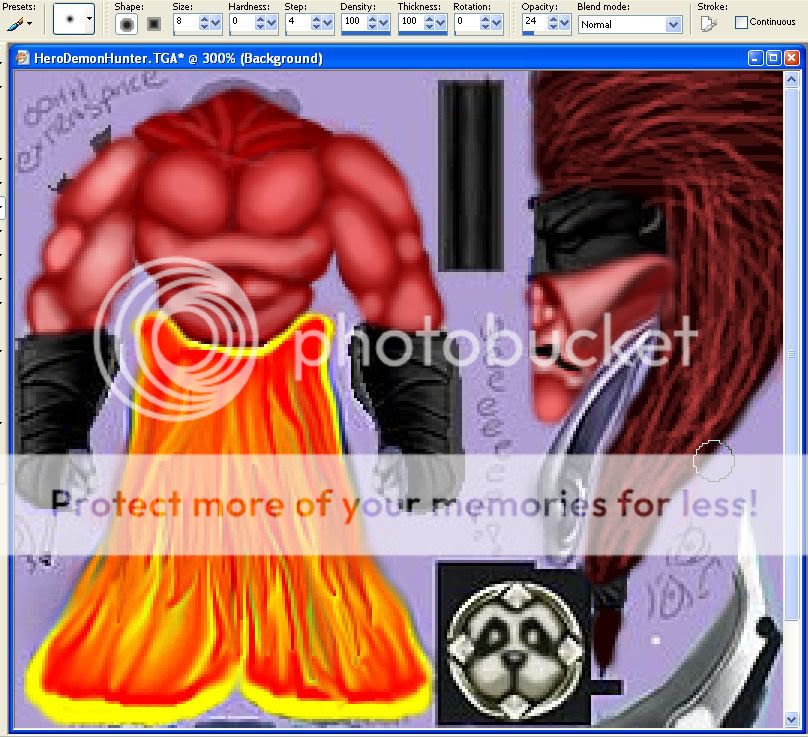
Step 1 - Exporting a Skin.
Open Wc3 Viewer.
Get into your image editor\Photoshop and open the skin we exported. Once you open it, back click on it, and copy paste it. Set aside the copy for later.
Now, set your brush to a dark red, and set the size to around 9. Make sure it has soft edges, too. It should look something like this, when your done.
Now time to set our brush up again.
Step 3 - Going Deeper
Repeat those steps in a similar way, colors the parts red, shading with light red, and all the rest. Remember to look at the copy too see how to shape SOME things, but we are not trying to make a exact copy. You can make it different it some ways, but normally when you change the position of anything, or change it too greatly, it winds up looking bad. I sometimes find it helpful to look at the model in the map editor, and see how the skin goes on the model and see what it would screw up if I changed it (Never change the face, I advise..) however that doesn’t always tell you for sure. You can try around, changing them, but remember, if you do and it comes out wrong, you will have to redo all your work!!
After finishing the rest of the body up, it should look roughly like this. Not exact.
[SAVE NOW.]
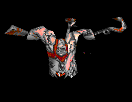
If you couldn’t tell by now, we're making the Demon Hunter into the Hunted Demon. As he is a demon, he won't exactly be walking around in a nice pair of jeans. This is lucky for us, as clothes are hard to make look right. We cant, However, make it be legs instead of pants on this model, because of the way its shaped.
Here we go.
Now, If you were to test this in game now, it would look blurred and smudgy black there, even if it doesn't look to bad from here. So..
[SAVE NOW.]
Step 4 - How to convert back into .blp and get it in game.
We have done quite a bit. We are not done yet, but lets test it in game so we can admire our work. Remember this, because you will want to do it later, after the skin is done.
Open wc3 viewer...
 )
)
Step 5 - The hardest part - Faces - Part 1.
If you make a mistake, it will come out looking terrible. Faces are really hard, for me.
Lets start with hair. Hair isn’t normally done how you have to do it on the demon hunter, so Im going to show you two ways.
Since we are making a demon, my first thought is "RED!!" and "FIRE!!" But really, on a skin, you don’t want everything the same colors. It comes out looking bad... However, the demon hunter already is all pretty much the same colors. Make sure it’s a dark color for this though. Make it whatever color you want. If it comes out looking back you can recolor it (Ill show you how later) but if that doesn’t come out looking good, you will have to REDO everything.
Alright, Lets start.
[SAVE NOW.]
You don’t have to braid it at the end if its too hard, I didn't bother. You can set a 14 opacity and size 7 brush, color red, and make a few smaller, less-easy-to-see hairs were they seem needed. Hair, and faces in general are hard. Hair even more so on the demon hunter. It will probably take awhile to get it right. Don't go by my pictures, I was showing you what I mean. Not how it should look, at all.
As for the second way, You take a thin brush of a light color, spam it all over. Then a think brush of a dark color and spam it. That’s the basic idea. Im not the best at hairs, and this tutorial will concentrate on this skin. If you want to learn how to make hair for other things, go here.
Step 5 - The hardest part - Faces - Part 2.
Now for the rest of the face. His blindfold, as well as his hands, I find, Are best left alone. On the face, its important to get it shaded right. Looking at the copy is a good way to learn (That’s how we will do it.). If that’s too hard, do separate parts of the fact at a time, not all of it. The Demon hunters face is very hard. As this is for beginners, I will make another part with a easier skin. But I don’t want this one left unfinished...
Lets begin.
Not too good so far, but a start.
Get on your basic dark red, and Shave down the cheek place so its not on the nose area.
The nose. Ohhhh, the... Noooose.P) You really need to get this tiny little nose just right, or it will look like he has a phat nose, or a flat nose, or a pig nose, or just a discolored bump.
Now test it in game again, see how it looks, and adjust it according to what looks wrong.
Forgot how to test it? Okay:
Step 6 - Finishing up!
The ear. Do it like everything else I showed, You should be catching on now. If you have trouble, tell me and ill make a tutorial part for it here. The ear is also tricky, You might want to just recolor it, if its to hard.
Another thing you might want to do is add some red in the eye socket of the blindfold, so it looks like he has glowing eyes. The blade, Normally looks best left alone, It winds up looking like something other then a blade. My program has trouble doing transparency sometimes, So if I change the SHAPE of the blade, it gets all blocky. Lets try changing it, anyways!
First, lets change the panda face that goes in the middle. Seriously, a demon that likes cuddly cute pandas!!?!!?! ( )
Now the blade.
You can take a 50 opacity red brush to the parts of his hand or feet showing.
You can stop here or go on. Save, and test in game, though, and see how it looks.
At this point, you may be thinking "This tutorial sucks, I just made a DemonHunter Recolored, just in a harder way!!". In a way, that is kind of true. But if you actually recolored a demon hunter the normal way, you would find them much different. This tutorial is teaching you how to freehand and get you into the habit, after this you can go try and make them even more different! Try this style with different colors, on other skins, and keep practicing. You will be able to be freehand skins, much different then recolors, with the help of this tutorial and other. This is for beginners.
I said I would show you how to change the color of the hair before. Now, I will.
Also note my already submitted resources:
Starburst
Power Orb
Fire Orb
Element models
Fire panda
Well, I hope I didn't burn your eyes with all my models.
Also note that I will be updating this thread with anything else of mine I find\make.[/I]
Reason for not submiting: Mostly simple smudge and colors. Most of them don't resemble anything. They still look kinda cool though.
Skins and models:
Model: Rep! NEW!
Model: NEW!
Reason for not submitting: Anybody can do it in one min with animation transeferr tool, but its still funny!
Skin:
Model:
Model:
Skin:
Model and skin pack:
Consists of: Ice phoenix (skin), Ice phoenix (Model), Ice Phoenix Bullet (based off of chimaera Bullet, Looks better ingame.) and Ice Explosion (Based off of firelords incinerate. Looks better ingame.)
Model:
Model:
Model and skin pack:
Consists of: Poison Lord & Disease Spawn (skin), Poison Lord & Disease Spawn (Model), Disease Bullet (based off of phoenix bullet.) and Breath of Infection (Based off of Breath Of Fire.)
Skin:
Model:
Model:
Model:
Model:
Model:
Tutorial:
I really need feedback on the tutorial. I allready know how to skin myself, so I can't judge it, But I think it came out bad. Its aimed at people with no skills in skinning..
Here it is, not at all finished:
Starting Freehand Skinning
In this tutorial, you will learn how to make a basic freehand skin.
The skin will not be very complicated, or largely different from the main skin,
But it will teach you to get in the habit of drawing skins yourself, Not copy Pasting or recoloring.
The skin will not be very complicated, or largely different from the main skin,
But it will teach you to get in the habit of drawing skins yourself, Not copy Pasting or recoloring.
Requires:
- Wc3 Viewer. If you don’t have it, Go Download it.
- Any image editing program. I use Corel Paint Shop pro 9. If you don't have an image editing program, Try downloading Gimp.
Step 1 - Exporting a Skin.
Open Wc3 Viewer.
- It should look like this, without the arrows.
- If the treeview window isn’t open, click the treeview button. (The red arrow points to it, In this pic.)
- If the treeview window is blank, click the "Open MPQ" button. (The green arrow points to it.) Then, Go to your wc3 folder, and select "war3.mpq" and click open.
- Then, Click on "blp", if you aren’t on it. (1# Black arrow.)
- Then, Click on textures. (Second Black arrow.)
- Click on a random skin and hit "H". It will bring you to the skins that start with "H".
- Then find HeroDemonHunter.Blp.
- Then click "Extract blp", (Red arrow in THIS picture.) and set "save as type" to tga, (Black arrow.) then create a new folder called "My Skins" and save it under there.
Get into your image editor\Photoshop and open the skin we exported. Once you open it, back click on it, and copy paste it. Set aside the copy for later.
Now, set your brush to a dark red, and set the size to around 9. Make sure it has soft edges, too. It should look something like this, when your done.
Now time to set our brush up again.
- Set its size to about 10, or 12.
- Set its Opacity (Transparency) to 10.
- Set its hardness (Soft edges or not) all the way down, so it has soft edges.
- Set its color to a very light and bright red.
- Zoom in on your copy closely and move it off the screen, so it only shows the arm your working on, and takes up less room. Now, You can look at the copy to tell how to shape the muscles on the arm, on your new skin. If you have your brush set up correctly, you can start.
- Do long brush strokes a few times, then smaller and smaller strokes. The most stokes should be middle sized, from looking at the copy they are bright in a wide area. (If need be, set brush size lower.) Keep looking at the copy to see how the old muscles looked, but don't worry about getting it looking exactly the same, or anything.
- Once your done, set your brush color to white, and to one small brush stroke on the tops of the muscles, to get it a little brighter.
- After you’ve done it for all the muscles on the arm, set the brush to a dark, almost black, red color, and a size of 2 or so. (With soft edges, it looks bigger.) Then, brush it between the muscles some. It should look like this, when your done.
Step 3 - Going Deeper
Repeat those steps in a similar way, colors the parts red, shading with light red, and all the rest. Remember to look at the copy too see how to shape SOME things, but we are not trying to make a exact copy. You can make it different it some ways, but normally when you change the position of anything, or change it too greatly, it winds up looking bad. I sometimes find it helpful to look at the model in the map editor, and see how the skin goes on the model and see what it would screw up if I changed it (Never change the face, I advise..) however that doesn’t always tell you for sure. You can try around, changing them, but remember, if you do and it comes out wrong, you will have to redo all your work!!
After finishing the rest of the body up, it should look roughly like this. Not exact.
[SAVE NOW.]
If you couldn’t tell by now, we're making the Demon Hunter into the Hunted Demon. As he is a demon, he won't exactly be walking around in a nice pair of jeans. This is lucky for us, as clothes are hard to make look right. We cant, However, make it be legs instead of pants on this model, because of the way its shaped.
Here we go.
- Set brush color to yellow.
- Set opacity to 100% (Not transparent.)
- Set brush size to 6.
- Now, draw yellow over the white fur on his pants.
- Then, Draw a line of red (Brush size 4) in the middle of the yellow.
- Now for some major smear\smudge use. Generally, good skinners seem to be against using it too much, maybe they think its too blurry. Smudge\smear can be largely different depending on what program you using, so results may be different than mine.
- Set the smear size to 12.
- Set hardness to 0. For me, that is. Depending on what program you use, you might want to try around and see what works best for you.
- Smear from they top, first, to the middle, making sure the brush starts some on the yellow, and some on the red, mixing to a orange, red, and yellow streaks.
- Do the same from the bottom to the middle.
- Then, go up and down by little amounts in the middle, just to blend the black stuff there.
- Now, Set the smear brush size to 9, and continue your streaks in the middle around were it was blurred, from top and bottom.
- The end result should look kind of like this.
Now, If you were to test this in game now, it would look blurred and smudgy black there, even if it doesn't look to bad from here. So..
- Back to our paint brush.
- Size 12, color red, opacity 10.
- Brush it down a few times in the middle were its all blurred and smear and stuff, until its pretty red, but not completely red.
- Back to the smear stick. Set it to size 6, then ALL the way from the top to past the middle, and all the way from the bottom, past the middle, like in the start.
- End result should be pretty much like this. Better, Huh?
- Get onto the sharpen brush.
- Set the hardness to 100%, and size to 30. Brush it all over the pants, twice.
- It should look like this now.
[SAVE NOW.]
Step 4 - How to convert back into .blp and get it in game.
We have done quite a bit. We are not done yet, but lets test it in game so we can admire our work. Remember this, because you will want to do it later, after the skin is done.
Open wc3 viewer...
- Click the "Convert .TGA to .BLP" Button. (Red arrow in this pic.)
- Find your .TGA demonhunter skin, that you saved under the "My Skins" folder we made, earlier.
- Click Ok, then click save. Quality of Compression should be about 85. If you want file size lower, set it lower. If you don’t care about file size, set it higher. Never set it too low, or it will be REALLY low quality, and look terrible.
- Make a new map, go into import manager (F12) and import it.
- Then, go back to wc3 viewer, and find the normal demonhunter skin, the way we did when we exported it. Then click Current file - Remap textures. (Black arrows.)
- There will be a list of all the path names to all the skins you looked at this time, in wc3 viewer. If you went right to the demonhunter, only its path will be there. If you looked at other skins, they will be there. Find the one that sounds like it goes to this skin. (In this case, Textures\HeroDemonHunter.blp)
- Go into import manager in map editor were you imported it, double click on it and check "Use custom path" and set the path to be the one you saw in wc3 viewer.
)Step 5 - The hardest part - Faces - Part 1.
If you make a mistake, it will come out looking terrible. Faces are really hard, for me.
Lets start with hair. Hair isn’t normally done how you have to do it on the demon hunter, so Im going to show you two ways.
Since we are making a demon, my first thought is "RED!!" and "FIRE!!" But really, on a skin, you don’t want everything the same colors. It comes out looking bad... However, the demon hunter already is all pretty much the same colors. Make sure it’s a dark color for this though. Make it whatever color you want. If it comes out looking back you can recolor it (Ill show you how later) but if that doesn’t come out looking good, you will have to REDO everything.
Alright, Lets start.
- Get on brush, make it whatever size you want. Make it have soft edges, no opacity.
- Set it to dark, dark, almost black red. (Or a dark color of whatever your using)
- Cover ALL of his hair with it. Remember that copy? We are gonna need that more.
- Set Brush to size 5, and a much brighter red. Opacity, 30.
- Make dots where the hairs will start. (Brush in a circle twice.)
- Get on the smear brush. Set size to 12. Smear the dots along (Placing smear brush in the center) so they make hairs.
- You may want to try this over and over, changing how big the dots are, how many there are, were you put them, and how you smear them, until you get the hair looking good, and kinda how the old hair was.
- This is the idea. I haven’t done it over and over to get it perfect, but this is the idea.
- Now get yourself a nice bright red, size 3, transparency about 77.
- Draw it along the hairs, making them brighter.
- Then, get on a size 2, white brush. Opacity 35, About.
- Draw it long each hair.
- The result should look KIND of like this. As I said, you would want to redo it over and over (if you get a good one, copy paste it so if you decide to use it several tries later its still there. But I didn’t redo it over and over, since Im doing it to show how, not to make a real skin.
[SAVE NOW.]
You don’t have to braid it at the end if its too hard, I didn't bother. You can set a 14 opacity and size 7 brush, color red, and make a few smaller, less-easy-to-see hairs were they seem needed. Hair, and faces in general are hard. Hair even more so on the demon hunter. It will probably take awhile to get it right. Don't go by my pictures, I was showing you what I mean. Not how it should look, at all.
As for the second way, You take a thin brush of a light color, spam it all over. Then a think brush of a dark color and spam it. That’s the basic idea. Im not the best at hairs, and this tutorial will concentrate on this skin. If you want to learn how to make hair for other things, go here.
Step 5 - The hardest part - Faces - Part 2.
Now for the rest of the face. His blindfold, as well as his hands, I find, Are best left alone. On the face, its important to get it shaded right. Looking at the copy is a good way to learn (That’s how we will do it.). If that’s too hard, do separate parts of the fact at a time, not all of it. The Demon hunters face is very hard. As this is for beginners, I will make another part with a easier skin. But I don’t want this one left unfinished...
Lets begin.
- Get on your basic dark red brush, hardness 0, brush, like 8. Opacity, 0.
- Cover all his face besides his blindfold.
- Brush size 7, transparency 10, color, light red.
- I start with the cheek-bone place, under the blindfold. Its pretty easy.
- Do long brush strokes a few times, then smaller and smaller strokes.
- Keep looking at the copy to see how the old face looked, but don't worry about getting it looking exactly the same, or anything.
- Once your done, set your brush color to white, and to one small brush stroke on the top of it, to get it a little brighter.
- It should look kinda like this.
[*]
- Set the brush black, size 7, opacity 11.
- Brush it beneath\sideways from the cheek-bone place.
- Set opacity 45, brush size 3.
- Make a black dot, were the cheek-bone-place thing starts.
- Smear so it’s a edge, separating the white and the dark spot.
- It should look kinda like this!
Not too good so far, but a start.
Get on your basic dark red, and Shave down the cheek place so its not on the nose area.
- Set opacity 45, brush size 3, black brush.
- Make a black dot, just below the blindfold nose area.
- Smear so it’s a edge, separating the cheek place from the nose place.
The nose. Ohhhh, the... Noooose.
P) You really need to get this tiny little nose just right, or it will look like he has a phat nose, or a flat nose, or a pig nose, or just a discolored bump.- Get on light red brush, size 4, opacity 25.
- Zoom real close on the face on your copy, and resize the box so it only shows the face, and drag it to some corner. Zoom in on the skin your editing, too.
- With your brush, draw the shape of the nose as best as you can. Don’t be afraid to redo it a few times. Remember, you have to draw a few layers on it for it to be white enough. Change your bush to white and add a little on it, too.
- Change brush to black, size 2, and outline nose with it, looking at copy to see how it should be done.
- Get on bright red, size 4, opacity 25.
- Brush it below the nose, but above were the mouth should be, looking at the copy to guild you.
- Get a size 2, color black, opacity 100% (Not any transparent.)
- Count how many pixels it is from the blindfold to the mouth on the copy, then start the black part of the mouth that far down, on your skin.
- Get on light red brush, size 4, opacity 25, and brush it around the mouth, again, looking at the copy, too see how to shape it. Make any needed adjustments to make the mouth and other parts fit in, if you didn't do them right the first time.
- Staying on your light red brush, size 4, opacity 25, and do the chin.
- When your done, it should look close to like this. Make sure its closer to the old demon hunter, not mine. BTW, see how I did the hair in that pic? That way also works for the DH..

Now test it in game again, see how it looks, and adjust it according to what looks wrong.
Forgot how to test it? Okay:
Step 4 - How to convert back into .blp and get it in game.
We have done quite a bit. We are not done yet, but lets test it in game so we can admire our work. Remember this, because you will want to do it later, after the skin is done.
Open wc3 viewer...
)
We have done quite a bit. We are not done yet, but lets test it in game so we can admire our work. Remember this, because you will want to do it later, after the skin is done.
Open wc3 viewer...
- Click the "Convert .TGA to .BLP" Button. (Red arrow in this pic.)
- Find your .TGA demonhunter skin, that you saved under the "My Skins" folder we made, earlier.
- Click Ok, then click save. Quality of Compression should be about 85. If you want filesize lower, set it lower. If you don’t care about filesize, set it higher. Never set it too low, or it will be REALLY low quality, and look terrible.
- Make a new map, go into import manager (F12) and import it.
- Then, go back to wc3 viewer, and find the normal demonhunter skin, the way we did when we exported it. Then click Current file - Remap textures. (Black arrows.)
- There will be a list of all the path names to all the skins you looked at this time, in wc3 viewer. If you went right to the demonhunter, only its path will be there. If you looked at other skins, they will be there. Find the one that sounds like it goes to this skin. (In this case, Textures\HeroDemonHunter.blp)
- Go into import manager in map editor were you imported it, double click on it and check "Use custom path" and set the path to be the one you saw in wc3 viewer.
)Step 6 - Finishing up!
The ear. Do it like everything else I showed, You should be catching on now. If you have trouble, tell me and ill make a tutorial part for it here. The ear is also tricky, You might want to just recolor it, if its to hard.
Another thing you might want to do is add some red in the eye socket of the blindfold, so it looks like he has glowing eyes. The blade, Normally looks best left alone, It winds up looking like something other then a blade. My program has trouble doing transparency sometimes, So if I change the SHAPE of the blade, it gets all blocky. Lets try changing it, anyways!
First, lets change the panda face that goes in the middle. Seriously, a demon that likes cuddly cute pandas!!?!!?!
( )- Brush color red, opacity 100% (No transparency.) size 4.
- Draw a big blob were each eye is.
- Smear dots downwards for happy eyes or upwards for glaring eyes. Go back to brush, change it white.
- With the white brush, do one click in the middle of the eye.
- Draw the rest of the panda face dark red, and draw a black mouth. Like a "" shaped for goofy, or a upside down "" face.
- Set brush to light red, size 2, Opacity 30. Outline the mouth.
- Set brush to white, 100% opacity, size 2. Draw some fangs! Or, for less goofy looking, small sharp teeth.
- Get on light red brush, size 6, opacity 25, and make his forehead lighter.
- Yellow brush, size 4, opacity 100% (No transparency.....)
- Make some dots with this yellow brush along the top, then smear them to be spikes.
- This is Kinda how it should look. Make it how you like it, though!
- Add a red rim. Red, size 2, to opacity.
- Get on sharpen, and sharpen it up some.
Now the blade.
- Size 6, red, no transparency.
- Draw it on all the blade, make the blade not have spike edges.
- Yellow, size 3. Draw it on the not-edge part of the blade.
- Now for smear, again. Like on the pants. From the yellow, to the edge of the blade. I advise size 8 smear.
You can take a 50 opacity red brush to the parts of his hand or feet showing.
You can stop here or go on. Save, and test in game, though, and see how it looks.
Step 4 - How to convert back into blp and get it in game.
We have done quite a bit. We are not done yet, but lets test it in game so we can admire our work. Remember this, because you will want to do it later, after the skin is done.
Open wc3 viewer...
)
We have done quite a bit. We are not done yet, but lets test it in game so we can admire our work. Remember this, because you will want to do it later, after the skin is done.
Open wc3 viewer...
- Click the "Convert .TGA to .BLP" Button. (Red arrow in this pic.)
- Find your .TGA demonhunter skin, that you saved under the "My Skins" folder we made, earlier.
- Click Ok, then click save. Quality of Compression should be about 85. If you want filesize lower, set it lower. If you don’t care about filesize, set it higher. Never set it too low, or it will be REALLY low quality, and look terrible.
- Make a new map, go into import manager (F12) and import it.
- Then, go back to wc3 viewer, and find the normal demonhunter skin, the way we did when we exported it. Then click Current file - Remap textures. (Black arrows.)
- There will be a list of all the path names to all the skins you looked at this time, in wc3 viewer. If you went right to the demonhunter, only its path will be there. If you looked at other skins, they will be there. Find the one that sounds like it goes to this skin. (In this case, Textures\HeroDemonHunter.blp)
- Go into import manager in map editor were you imported it, double click on it and check "Use custom path" and set the path to be the one you saw in wc3 viewer.
)At this point, you may be thinking "This tutorial sucks, I just made a DemonHunter Recolored, just in a harder way!!". In a way, that is kind of true. But if you actually recolored a demon hunter the normal way, you would find them much different. This tutorial is teaching you how to freehand and get you into the habit, after this you can go try and make them even more different! Try this style with different colors, on other skins, and keep practicing. You will be able to be freehand skins, much different then recolors, with the help of this tutorial and other. This is for beginners.
I said I would show you how to change the color of the hair before. Now, I will.
- Select the hair using the freehand selection tool, or magic wand, whatever most easy.
- Go to Adjust - Hue & saturation - Hue, saturation and lightness and then adjust them, to make it different colors.
- Or, go to Color balance - channel mixer and change colors.
- You may also find adjusting Contrast and brightness to make it look good. The final way to recolor, is to take a 50% opacity brush of your color and brush it over it.
Also note my already submitted resources:
Starburst
Power Orb
Fire Orb
Element models
Fire panda
Well, I hope I didn't burn your eyes with all my models.
Also note that I will be updating this thread with anything else of mine I find\make.[/I]