FireEffect
Gasp!
- Reaction score
- 98
Texturing Capes and Cloth in Photoshop
INFO:
In this tutorial I will be showing you how to texture a cape onto a unit looking realistic but still keeping the Warcraft feel to it. For this tutorial I am using Photoshop CS2, any earlier versions might have some tools missing. This tutorial can be applied to many different things, not just a cape. It can be used to make cloth armor, with proper shading applied. I will be using Wc3Viewer to extract my blps and to convert the files.
DIFFICULTY: 4/10 (Requires some previous skill and Photoshop knowledge)
Step 1 -
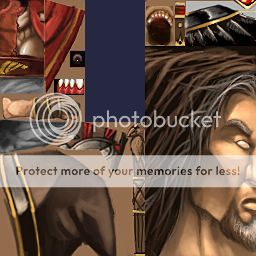
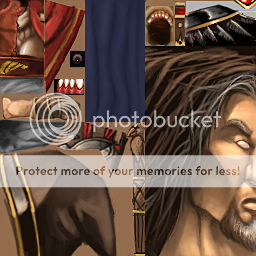
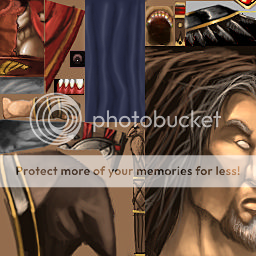
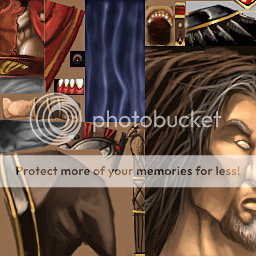
You will first need to pick a model to texture, in this example I will be using Medivh.
Step 2 -
Select the area you want to create a new cape, I will be redoing his cloak thing. Fill the area in with your color of choice, i chose a dark blue.
Step 3 -
Use the burn tool (


Step 4 -
Use a smaller 3px brush with a higher exposure (about 20) to add definition to the previous lines. Keeping in the middle of the lines is not necessary, and going off the line completely adds a more realistic look, just try not to over do it.

Step 5 -
Use the dodge tool (

Step 6 -
Still using the dodge tool, use a smaller brush size with a higher exposure (about 10-15) onto the highlights.
Step 7 -
Repeat Step 6, but with a even smaller brush and a even higher exposure (about 15-20)
Step 8 -
Duplicate the cape layer and go to Filter>Artistic>Plastic Wrap using the settings: Highlight Strength - 15; Detail - 11; Smoothness - 7. You may need to alter it a bit if it is too bright by raising the detail setting.
Step 9 -
Set the plastic wrap layer to overlay with about 50% to 75% opacity.
Step 10 -
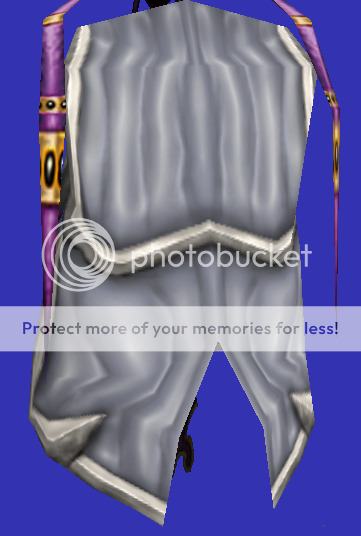
Merge the 2 cape layers. Go to Filter>Sharpen>Smart Sharpen and use the settings: Amount - 60%; Radius - 3px; Remove - Gaussian Blur. Press OK and the cape is complete!
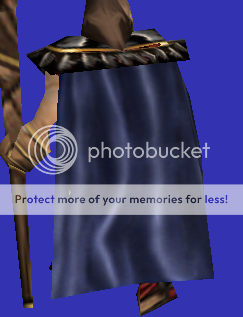
Here is what the cape looks like on the model:
And another example of the technique using a 512x512 texture size: