
Editing an Icon
Requirements:
Introduction
In this tutorial I will be showing you how to edit an icon. We will be doing this with Warcraft 3 Viewer and with an image editing program. If you have any questions please reply.
Starting
First open up Warcraft 3 Viewer you shoud have 2 windows pop up called Treeview and Warcraft 3 Viewer.
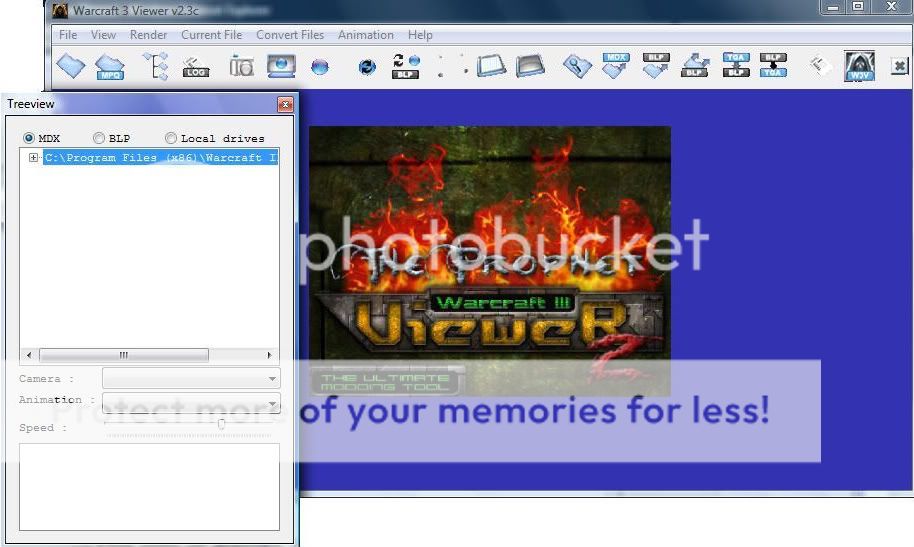
Now in your treeview change to BLP instead of MDX and open the little folder. Next go to replaceabletextures and then CommandButtons.
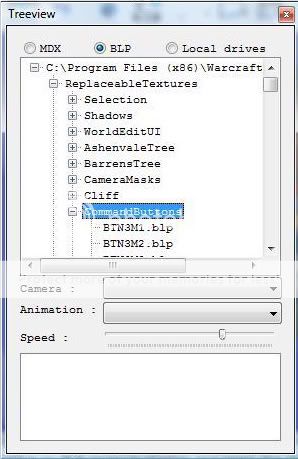
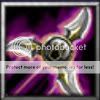
You will find that icons are in it. If you choose anyone of them it will display it on the Warcraft 3 Viewer. Now just choose one that you like. I will choose this one.
Now what you do is go to Current File > Extract(and convert)blp file
Then it will ask you where to save it and save it as. Save it anywhere you want and save it as any type of image you want and make sure to make it 24 bits not 34.
Editing and Finishing
Now open your image editing program and open the image you saved. Also when your editing try not to cover the border. Add anything you want to the icon. Maybe recolor some parts or make new one. Make a symbol or anything you like. Okay this is my finished result of the icon. I spent like 4 minutes on it. It's just pretty much a recolor.

Now that we finished the icon now we have to convert it to a blp file so we can use it in a warcraft 3 world editor.
Now open Warcraft 3 Viewer back up. Next go to
Convert Files> BMP/TGA/JPG -> BLP
next click your file and press open then
next save it where you want. next
choose any quality wont matter then
A warning message will come up press yes
And there you just converted it to a blp. Now open up your world editor and go to import manager. Next upload your icon and change the path of it
Use: ReplaceableTextures\CommandButtons\BTNName.blp
and
ReplaceableTextures\CommandButtonsDisabeld\DISBTNName.blp
Now apply it to an ability or unit icon. Next save and restart your World Editor and open your map you saved and there it WORKS!!
I hope you enjoyed this tutorial give feedback
")

